[MUSIC]
Hi! Welcome to this lesson! We're excited to help
you master our platform in no time at all!
This video will show you how to use the
Content Builder. The Content Builder is our
easy to use content editor. It's like playing
with Legos, but for Content! It's meant for
everyone especially non-pros. To show you how
it works we're going to create a newsletter.
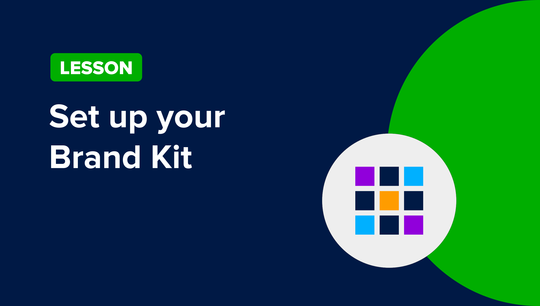
I have my Brand kit set up already so
if you don't, go back and do that first.
Let's start by adding content to the doc template
we've selected during the plan and prepare lesson.
Now, let's add some images! This block
over here can use a background image.
To do this, we're first going to upload
our media to the Foleon media library.
I'm going to create a new folder and
drag all my media assets into that folder.
and then we'll apply the image just like this!
let's liven it up a bit by changing the background
color of these text boxes. To do this, we're going
to open up the settings of the blue text element
and select the background color you'd like.
Lastly, if your Foleon Doc has multiple Pages
you can make one page first and then duplicate it.
You can also delete ones you won't use
or select other page templates to add in!
There we go! If you do happen to swap out a
template page reordering them is as easy as
dragging into place! Let's liven it up a bit
by changing the background color of the block.
To do this, we go to the block
settings and select the color we like.
For those moments you need
a placeholder image, Unsplash
comes to the rescue! You'll find it as
an option in your media library when
you're updating the template. Search
any keyword and insert your choice.
You can brand background images by using a color overlay
Choose a brand color and
decrease the opacity just like so.
This next page has more content to be
pasted in. I wrote my copy in a Google Document
and will now paste it into the
text elements within the template page.
Just like we swapped out page
templates you can also swap out
block templates to better work with
the media and content you prepared.
Next, we'll go ahead and check if the
styling of the copy is correct, as I
can make some changes up here. The
styling is predefined by the Brand Kit,
so if changes are needed, you
may do this now before continuing.
Columns can also have a background image!
Nice! Next, we're adding an overlay. That's
like a pop-up with additional info.
To do this, I'll add a linked text that
says "read more" below this paragraph.
When linking to an overlay I can
create a new one to link here for me.
Just like that! You'll find the process of creating
an overlay quite familiar as you'll follow the
same steps when creating a new page. Give it a
name, choose a template, and make your changes!
[Music]
Simply exit out with the X in the top
right and now your overlay is ready!
You can manage your overlays from here!
While you're creating it's helpful to
use the preview mode to check your work.
[MUSIC]
Videos can be added as a block background too.
Be aware, they only auto play silently in the
block backgrounds and only on desktop view mode.
For movement across all devices an animated gif
file works better. Simply remove any text
from their elements that you don't need.
Once you've finished all your pages it's
time to link the navigation buttons within
the Foleon Doc. Buttons at the top of the
page can be linked to the topic blocks below
Down at the bottom of the page
you'll find buttons in a footer.
Make sure the buttons here are
linking to the corresponding pages
The content is done! Now let's set the navigation
preferences located in the doc settings.
For example, I'd like to add the page
name buttons to the navigation bar, keep
the page numbers, and change the arrow style.
Don't forget to hit save before exiting out.
And there you have it! In this lesson you've
learned how to add copy ,create overlays, add images,
videos, and background colors, you know how to link
pages together, set the correct navigation settings,
and preview the results!
Good luck and thanks for watching!
[MUSIC]